Showing posts with label fmq. Show all posts

Saturday, January 6, 2018

Formulating a Quilting Plan

In my last post I made reference to joining in with Aby Quilts to complete an unfinished quilt each quarter. I'm actually hoping to complete three this first quarter - all of them for the Faith Circle of do. Good Stitches. Last year, with moving to our new home, I was able to coordinate the planning of these quilts from my circle, but not able to pull off getting them completed. Now that the new year is upon us I will be coordinating two quilts in 2018, so I need to get myself in gear and finish the 2017 quilts.

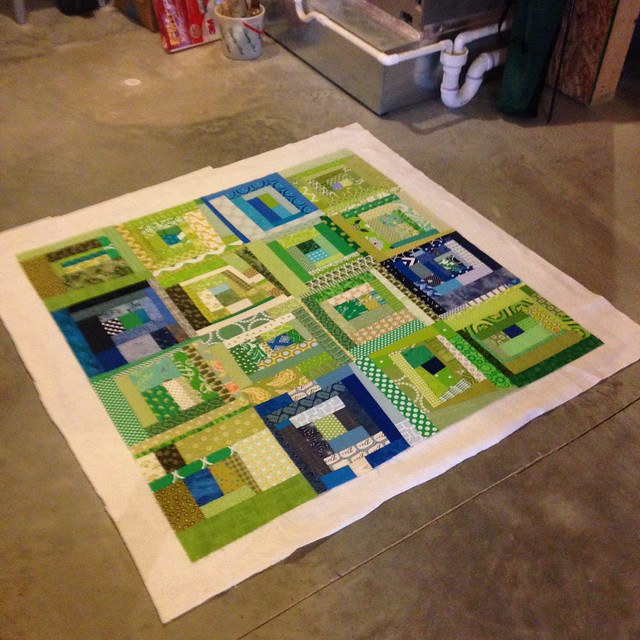
First up is the green and blue improv log cabin quilt. I am thrilled with how saturated the colors are in this quilt top. Yesterday I got it pin basted using a nice open space on the basement floor. It just took a little over an hour to baste this 48" square quilt. The challenge was to keep our dog from walking back and forth on it while I was working. At one point she even decided to lay down on it. Maybe that means it's snuggle worthy?

Sandwiching the quilt
All smoothed out and ready to pin baste

As it was spread out on the floor I mulled over how I'd like to quilt it. Options considered include:
  • Edge to edge straight line quilting using painters tape as a guide
  • Grid quilting using painters tape as a guide
  • All over meander/stipple and possibly include loops
  • Flame/wood grain quilting the individual squares
It's been a while since I've done any free-motion quilting so I think it's time to give it some practice again. As I've written about before, I have a pretty small Janome domestic sewing machine. It can be a challenge to use it for quilting; however, for the most part I've been pretty happy with what I've been able to do with this machine. I decided to try the flame/wood grain design in each individual square. This saves me from having to feed large sections of the quilt through my machine as I will only be working on one square at a time. I'll start by stitching-in-the-ditch along the seams where the blocks are joined. This will stabilize the quilt sandwich, and allow me to stitch along this same line as I work back and forth in the wood grain design. 

Planning out the quilting design
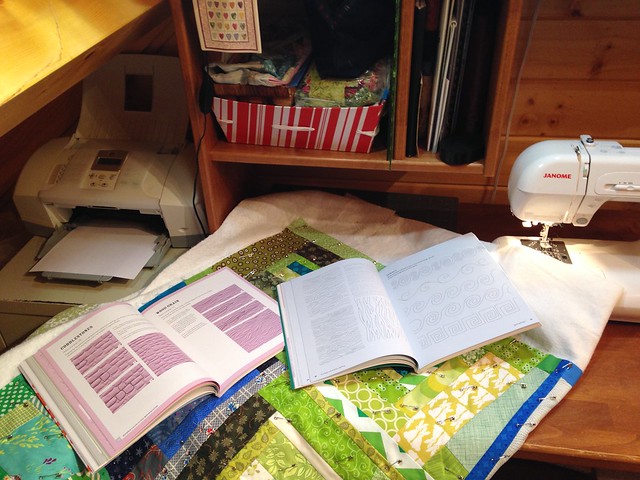
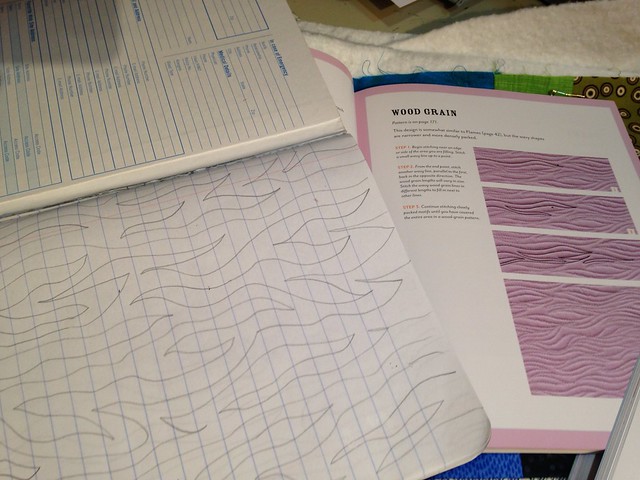
Searching for quilting options in my reference books

I have a couple of great books I've written about before that are so helpful with learning about developing the skills needed with free-motion quilting. I pulled them out along with an old composition book (left over from my son's schooling days!) and practiced sketching out the design.

Practicing my quilting design
Sketching out the wood grain design


I'm thinking I will alternate the direction of the wood grain stitching from block to block. I also plan to use up various shades of blue and green thread I was gifted from a friend whose mother used to quilt. Here's to a good plan, now wish me luck as I get started! 


Monday, January 4, 2016

Quilt As You Go: Quilting the Blocks - My Experience and Thoughts

Quilt As You Go {QAYG} is a technique that captured my attention early in my quilting journey. While attending a 2009 quilt show in Cumberland, MD I watched a demonstration for QAYG placemats. It made total sense to me that this would be a great method to learn and develop free motion quilting skills. For some reason it took me six years to give it a try - I highly recommend you not wait that long.
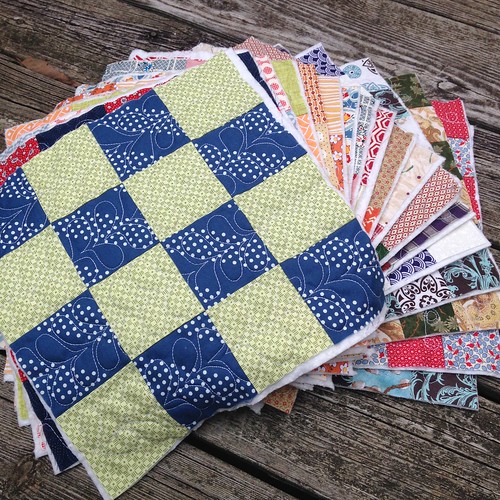
All the blocks have been quilted
This stack of blocks provided a lot of QAYG practice

Before going any farther let's define quilt as you go. Regular quilt making begins with assembling a quilt top, then making a quilt sandwich (top, batting, and backing), and finally quilting the entire top as one large piece. QAYG breaks the whole process down to the block level. A quilt block is completed, layered onto batting and then quilted - at this stage there is no backing fabric. One reason I really wanted to try this method of  quilt making is the small size of my sewing machine. Some of you may remember this picture:
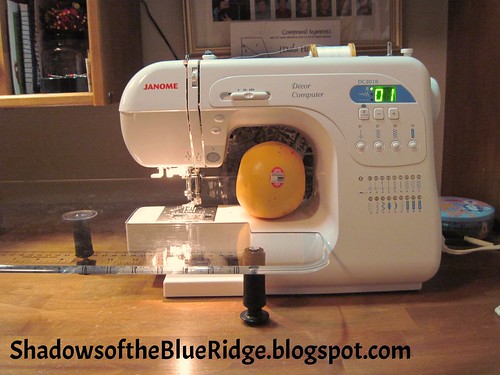
My Janome sewing machine
Yes, that is a grapefruit
As you can imagine it is pretty difficult to stuff a large quilt through the throat space on my sewing machine. If I only have to quilt one block at a time it frees up my hands and arms to focus on the flow of quilting rather than pushing, pulling, and twisting a bulky quilt through this relatively small space.

Before beginning I did some research on QAYG methods, considering both quilting the blocks, and what I was most concerned about, assembling them once they are finished. In this blog post I am going to focus on the quilting of the blocks and will save my thoughts regarding assembly for a Part 2 post. Okay, enough of the background...on to my experiences and thoughts :o)

My recent quilt finish, Great Grandmother's Patchwork Quilt, is made up of three different blocks: 9 patch, 16 patch, and 36 patch. These blocks provide a great opportunity to give QAYG a try. First I selected a different quilt design for each of these blocks.
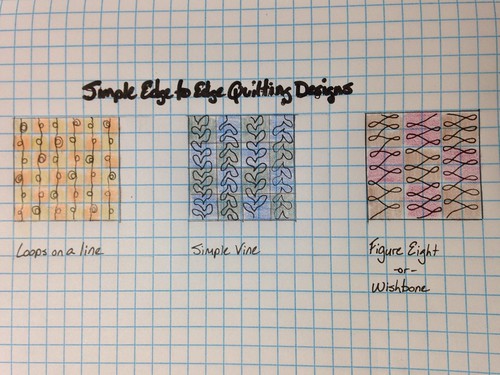
Simple edge to edge quilting
Simple edge to edge quilt designs
All three of these easy quilt designs are suggested in Christina Cameli's book, First Steps to free-motion quilting. I mentioned this book last year in another of my free-motion quilting posts. I highly recommend it (please note I purchased my own copy of this book and am not being asked to endorse it.)

For the actual quilting I grouped my blocks together and quilted all of each block at the same time, for example, I did all of the 36 patch first, then all of the 9 patch, and finally all of the 16 patch blocks. Also - and this is an important point - keeping in mind that a run through the washer and dryer improves the look of all quilting, I gave myself permission to learn how to do these designs on the actual blocks. In other words, the more blocks I quilted the better I got. The first few times I did each pattern it looks like beginner quilting.

I started with the loops on a line design because I thought this to be the easiest of the three. It actually was very easy and did not matter if I was working top to bottom or bottom to top on the block I got the same look - in other words I did not need to rotate the block when I reached the edge, I just stitched over to the next column and began again. Next, I did the figure eight/wishbone design. I loved the smooth movement of this design and it really was easy to find my rhythm with it. For this design I also I did not have to rotate my blocks but it took a bit more mental processing to switch from quiting up the block to quilting down the block. Finally, I saved the vine for last because I thought it was the most difficult of the three designs. For this one I definitely had to rotate the block with each pass and always worked bottom to top. Here's my skill progressions with the vine pattern:
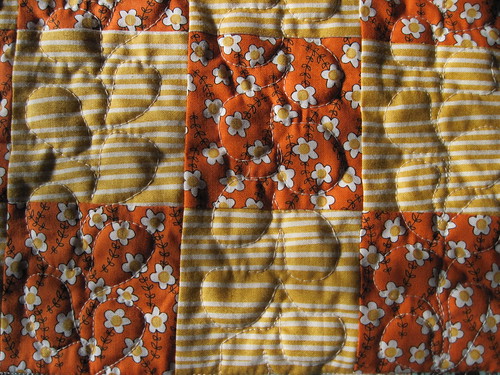
Free Motion Quilting-beginner
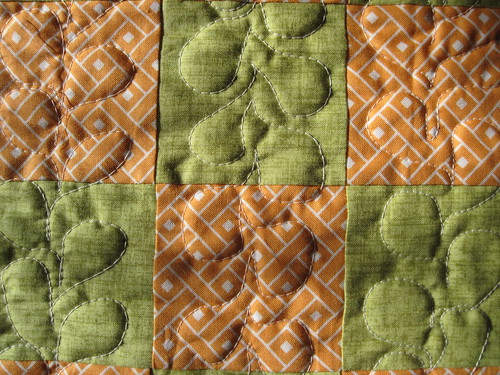
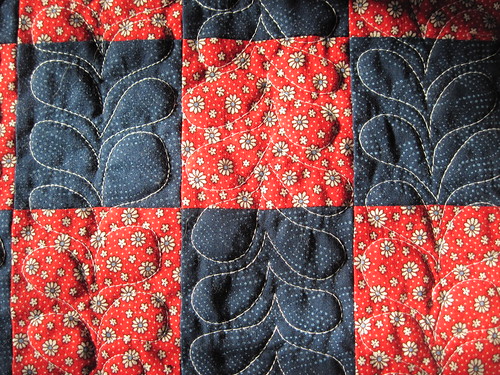
Vine: early attempt yields poorly formed leaves and inconsistent sizes


Free Motion Quilting - bit of practice
Vine: after a few blocks the vines are starting to look more uniform in size and shape


Free Motion Quilting-end of quilting session
Vine: finally a block I am proud to show. Good spacing, shape, and sizing :o)

I did notice that since I was only quilting a top and batting (remember, there is no backing fabric on the blocks at this stage) there is more drag when moving the blocks around. I did use my Supreme Slider and it was a big help. However, even without a Supreme Slider this would not be too difficult given the small size of my blocks.

Overall QAYG was a great experience! It was so fun to quilt small blocks and to try different free-motion quilting patterns without having to wrestle with a large quilt. It was also exciting that it really did not take long at all to see improvement in my quilting - a big motivator!

I'll write up another post soon giving my thoughts and experience with assembling the quilted blocks and adding a backing, so stay tuned! In the meanwhile run, don't walk, to your sewing machine and give quilt as you go a try on some of your quilt blocks - you'll have fun! I promise :o)
Tuesday, December 22, 2015

Crochet a Little Caroler

I think every knit and crochet enthusiast can relate to that lost feeling of not having anything on the needles/hook and wondering where inspiration for the next project is going to come from. Don't you love finding a sweet little project to work on?

Wee Elves - Crochet Version
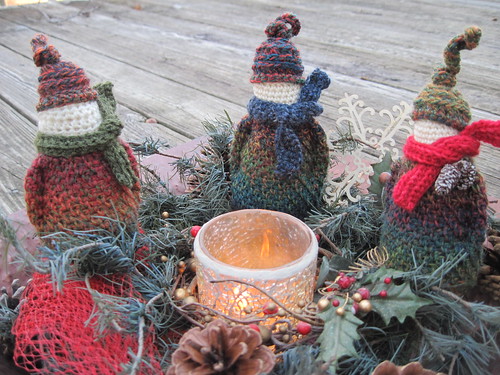
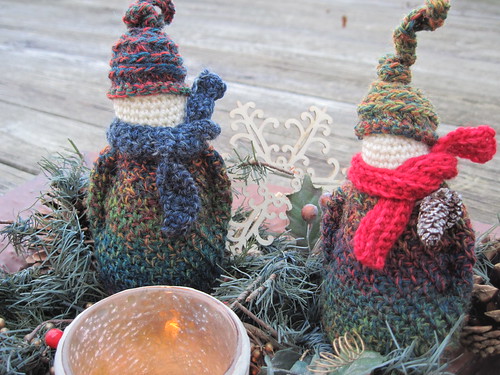
Crochet Carolers - my adaptation of the Jolly Wee Elf knit pattern

About a year ago I came across an online yarn shop called Churchmouse Yarns & Teas. They also have a brick and mortar location on Bainbridge Island,Washington - the complete opposite side of the country from where I live. In one of their recent holiday newsletters they featured a sweet knit pattern for a Jolly Wee Elf. I don't knit {yet!}, but I am pretty comfortable with crochet and thought I'd be able to adapt this little design to a crochet version.

Wee Elves - Crochet Version
Crochet Carolers


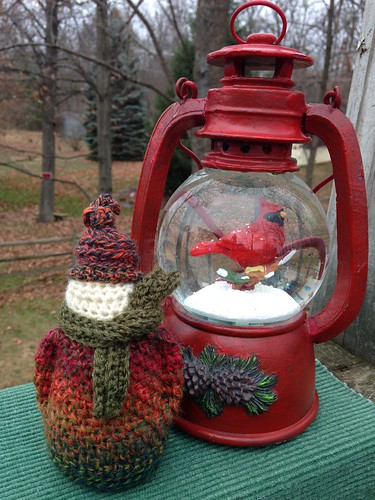
For my little carolers I used Patons Kroy Sock FX yarn in the Clover colorway. This variegated yarn was so fun to work with as each caroler turned out looking like his little suit was different from the others. For their faces and scarves I used bits of sock yarn I had left over from other projects. I just made myself rough notes on the construction of the caroler so each subsequent caroler is a bit different from the others.

To help the carolers stand up I wrapped a bit of {new} fish tank gravel in plastic and tucked it in the base of the caroler, then continued to stuff with fiberfill. It's really the hats and arms that give them their individual personality.


Crochet Cousin Elf
Merry Christmas!
I can hear these little carolers singing:

O Holy Night! The stars are brightly shining,
It is the night of the dear Savior's birth.
Long lay the world in sin and error pining.
Till He appeared and the Spirit felt its worth.
A thrill of hope the weary world rejoices,
For yonder breaks a new and glorious morn.
Fall on your knees! Oh, hear the angel voices!
O night divine, the night when Christ was born.
O night, O Holy Night, O night divine!

-by Adolphe Adams

These sweet little carolers have gone to live in their new home with my dear friend M :o)

Wishing all of my online friends a
 Blessed and Merry Christmas!

Saturday, August 31, 2013

Planning a Sampler

This Fall I enrolled in The Penny Sampler online class taught by the talented Rachel of Stitched in Color. The main class project is a beautifully designed Scandinavian sampler quilt which Rachel named, "The Penny Sampler." The class focuses on developing skills in three areas:
  • machine applique
  • precise piecing
  • machine paper piecing
Rachel teaches these skills through mini stand-alone projects. The first skill we are working on is machine applique with various techniques to choose from. 

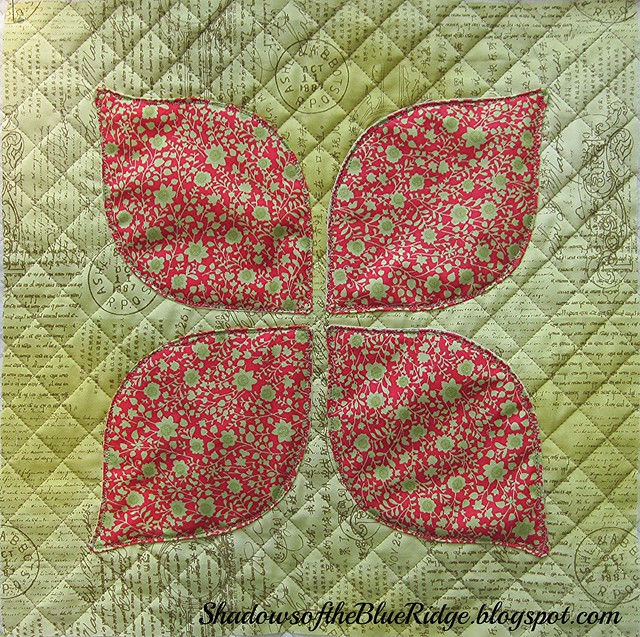
Dogwood Blossom~practice project
I chose to try the stitch and flip method to create my dogwood petals and then use sketch stitch applique to attach them to my quilted-in-advance background fabric. I seem to be on a grid-quilting roll lately...really like the look of it. It is super fun to sketch stitch! I think I've found something I will continue to enjoy and will add variety to my quilting skills :o) I ended up using my darning foot and free-motion quilting for the sketch stitching. I love the "slightly" messy look of it...so freeing! (Note: this is a stand along project...not part of the Penny Sampler quilt top. It can be used as the front of a pillow, although I may just set this aside for now and try making a quilt-as-you-go mini medallion quilt with it.)

I used three online color palette builders to help me select the colors for my Penny Sampler quilt top. The photo I used for my inspiration is not mine so I'll not post it for public viewing. However, I will show you the rich, beautiful colors that resulted from it!

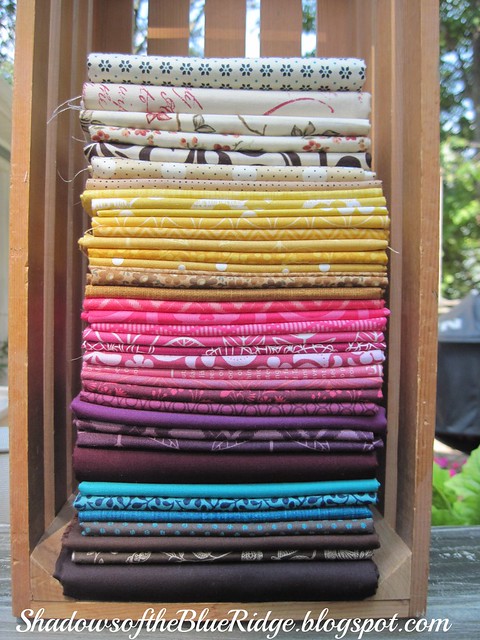
Fabric Pull!
I am really loving these colors! Deep, dark chocolate browns, teal (this word does not even need any adjectives...it's super all by itself!) rich eggplant purples blending into lively magenta's, mustard yellows, and creamy neutrals. Sounds good enough to eat!

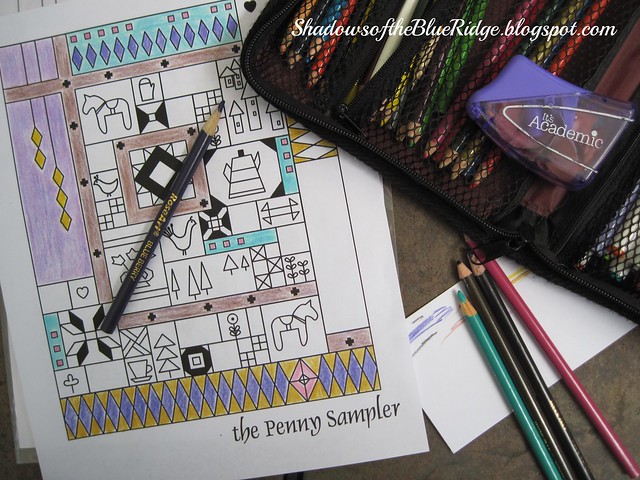
Rachel provided us with a black-line master of the quilt top so we can color it in to help balance out the use of color across the quilt.

Sketching out plans
Clearly I need more depth to the variety of shades in my colored pencils :o) I just have basic colors so the shades don't match up too well with my fabrics, but I do get an idea where I want to put my main colors. 

This is going to be a fun Fall! Hope you have a great Labor Day weekend~I'm off to work on my next class assignments :o)


Wednesday, July 24, 2013

Measuring progress & fun new swap!

Little by little I'm making progress on the scrappy triangles quilt. I've had some requests to see a picture of the entire quilt back so here it is. 
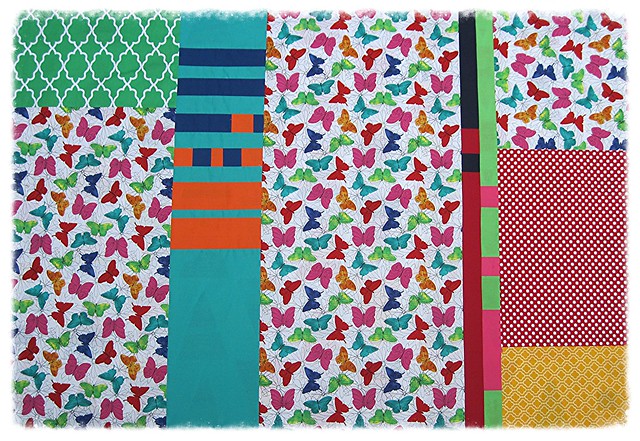
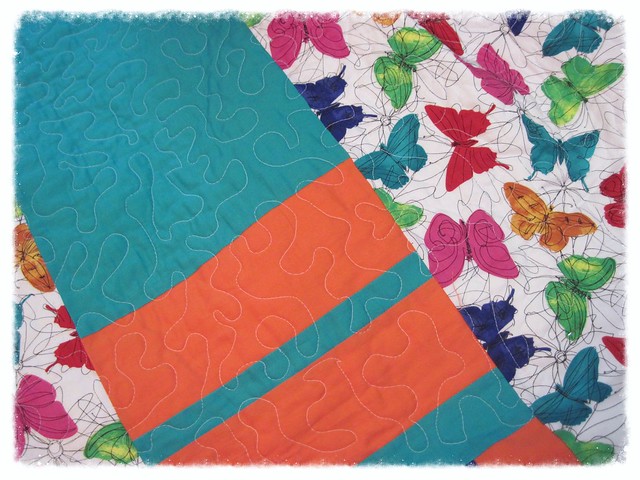
May Faith Circle Quilt Back
It's quite bright and I hope cheerful! I bought the butterfly fabric because butterflies are the symbol for Restore Innocence. I knew I'd like to try my hand at some improve piecing so I bought 1.5 yards of the butterfly print and added additional fabrics from my stash. I'm hoping the finished product comes across as modern and fun. 

IMG_2169

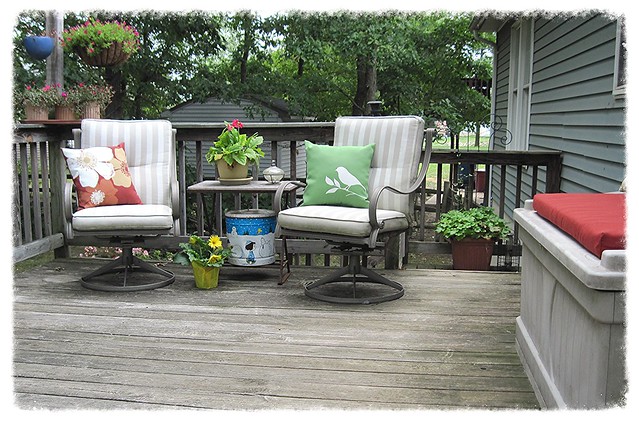
In case you are wondering I ended up using spray basting. It's just so quick! I had the backing, batting, and top laid out and basted up in about 30-40 minutes...so fast! When the weather is nice I spray baste outside on our deck. I sweep it off well and then have a nice large area to work on. 

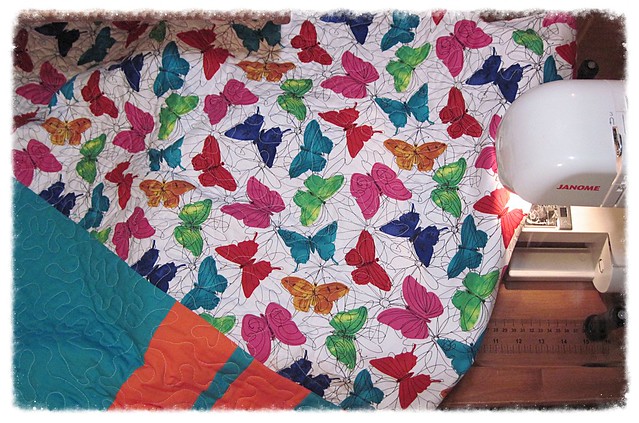
Free Motion Quilting on a home machine

Before I started quilting I did a quick refresher on free motion quilting using a home machine since I've not done it in a while. I really like this great tutorial posted by Oh FranssonIt's a learning process to quilt on my home machine. I have a Janome DC3018 sewing machine and I really like it. It's not one of the large Janome machines which makes it a bit of a challenge during the quilting process because the harp opening is quite small (just 4.5" x 6.5".) This causes a lot of "stuffing" when trying to move the quilt around while meandering/stippling. 

Quilting close-up
It's hard to post this close-up picture because the "oops" areas are glaring out at me. As you can see it's not perfect, but hopefully the young lady who receives this quilt will know it was made with love and that things in life are rarely perfect. Just a few more quilting sessions and I should have this quilt all ready to bind!
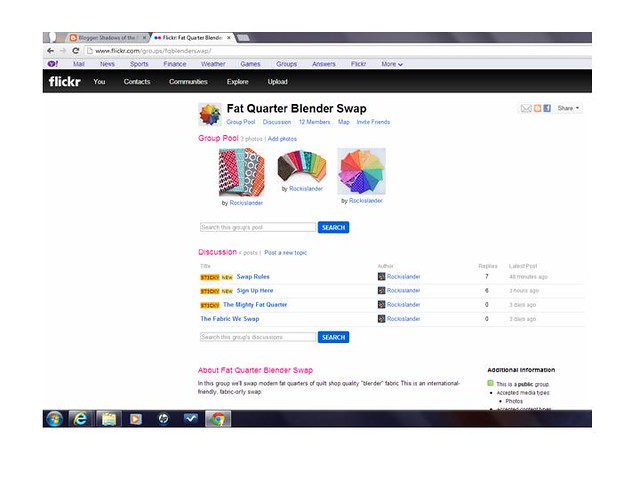
Fat Quarter Blender Swap
I'll leave you with this announcement...there's a fun new swap if you're interested! flickr member, Rockislander, is putting together a Fat Quarter Blender Swap.  Requirements are basically to have a flickr account and agree to the swap rules.  All of the details can be found here