 |
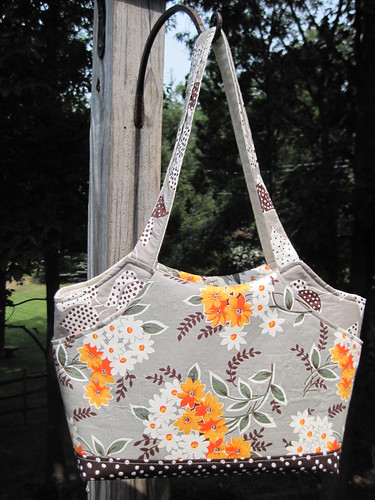
| Change Your Mind Slipcover Bag - brown dots exterior |
After completing the Social Climber quilt for the Faith Circle I decided it was time to take a quick break from large projects and do something smallish and fun. My eyes landed on a beautiful trio of Flea Market Fancy fabrics neatly folded on a shelf and I knew it was time to make the Change Your Mind Slipcover Bag. I had almost everything I needed on hand: fabric, interfacing, thread, only needing to purchase a zipper.
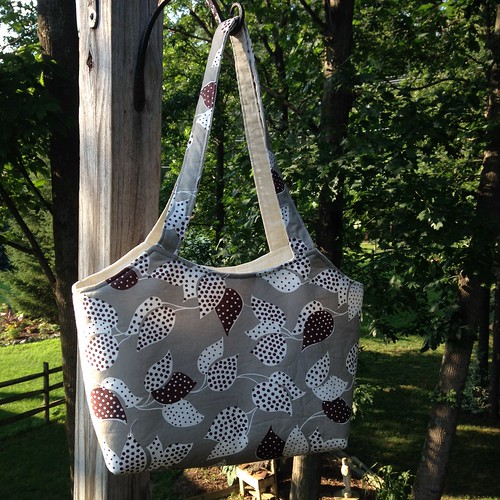 |
| Main Body of Change Your Mind Slipcover Bag |
For the main body I used this Leaf & Dot print because it was a good neutral and {I thought} my least favorite fabric of the trio. Well...once I finished the main body I discovered the simple elegance of this print and it quickly became my favorite! The pattern calls for heavy weight interfacing to be used on all bag parts, but I wanted to add a bit more substance to the bag so I used iron on fleece for the main body instead. The interior of the bag includes patch pockets on one side and a zipper pocket on the other. More about this neat zipper installation to follow :o)
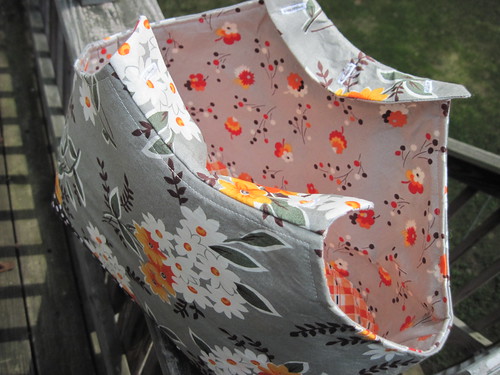
The whole purpose for this pattern is to create slipcovers for your bag so you can change up the look as desired. Now the pattern calls for making the slipcover with a lining fabric on one side and your chosen "new look" fabric on the other. To me that seemed a bit of a waste. Instead I decided to make one slipcover and have it be reversible.
 |
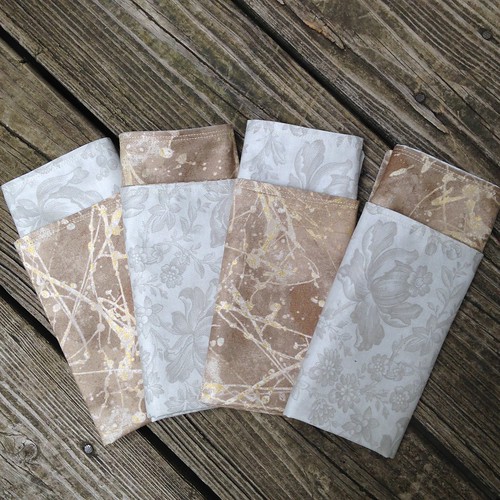
| Flea Market Fancy fabrics |
Here you can see I used Flea Market Fancy Bouquet on the outside and Posie on the inside. There just seemed to be no good reason to make two separate slipcovers. For the slipcovers I used the heavy weight iron on interfacing like the pattern called for. You can see that I experienced some bubbling - I've never had this issue before because I'd always used the heavyweight interfacing with home dec fabric, not quilting cotton. Not sure what's up with this. Debbie, over at A Quilter's Table, just happened to mention this same issue in a recent post.
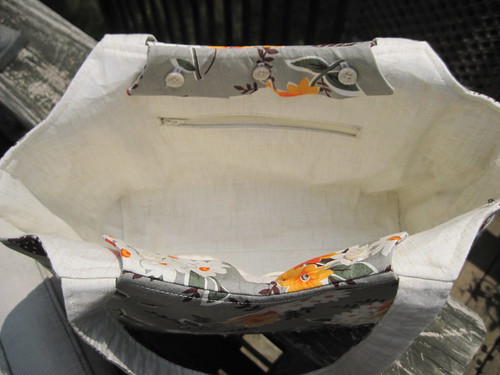 |
| Interior of bag |
This is what the interior of the bag looks like with the slipcover attached. See how it folds over the top of the main body and is held in place with buttons? I learned some new skills while making this bag:
- a completely new way to install a zipper into the lining fabric {so cool!} I don't know what this method is called, but it creates such a neat zipper opening and is not at all hard to do
- make and attach facings
- how to sew buttonholes!! Oh my goodness...if I'd have known how simple buttonholes are, and how fascinating it is to watch my sewing machine make them, I'd have done them long ago!
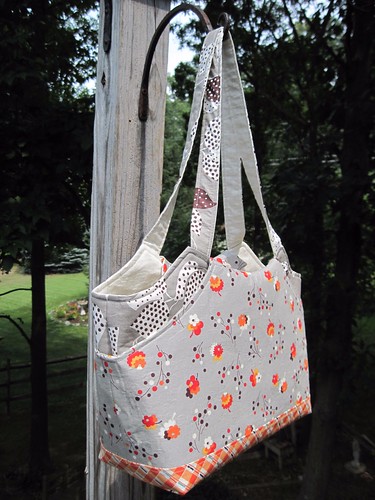 |
| Change Your Mind Slipcover bag - orange plaid exterior |
Here are the modifications I made to the bag:
- slipcover is reversible
- I added the additional brown dot and orange plaid fabric bottoms just for fun
- top stitching was added to both the main bag and the slipcover to make them a bit more dressy
- on the recommendation on someone's pattern review I installed the buttonholes to the facing before attaching them to the slipcover
If I were to make this bag again I would put some type of divider and additional pockets inside. It's a pretty large bag and some interior organization would be a nice addition. In fact, I will probably go ahead and make something for this one and hand sew it in. In addition, I think I'd add either a zipper or snaps to the top to close it. As stated it is a pretty large bag and feels a bit open. All in all it is a very well written pattern and I enjoyed making this slipcover bag :o)
What new sewing skills have you recently learned? I'd enjoy hearing about them - leave me a comment :o)