Saturday, September 27, 2014

Leave no blocks behind - In pursuit of a quilt back

Back in March I was the quilt designer for the Faith Circle quilt. For this quilt I asked the Faith Circle ladies to make wonky disappearing 4-patch blocks using a palette of soft colors. You can read more about the quilt design and find the block tutorial here. In my mind I had visions of a plaid center section surrounded by applique borders of whimsical flowers. 

image

After a few more months than I intended the finished quilt top finally emerged :o) These happy little flowers took longer than I expected to complete, but I am oh-so-happy with the finished top...it turned out exactly as I pictured it.

As often happens with our Faith Circle quilts there were a couple of blocks left over after the quilt top was assembled.


IMG_2743

I try to go by the motto, "Leave no blocks behind." In other words, when a quilt is completely finished (quilted and bound) I really don't want any orphan blocks left over. A good way to accomplish this is to use the extra blocks when making the quilt back. I have collected a few larger cuts of fabric to put together with the two blocks in a pieced back. I want the back to use the same soft colors as the quilt top.


IMG_2744

In my quilt notebook I've started to sketch out an idea...we'll see if it works out with the blocks and fabrics I've pulled. I hope to get the back pieced this weekend, and maybe get the quilt basted, too. 


IMG_2746

I'm excited to see this quilt progressing! 

Sunday, September 21, 2014

It's been a coral and blue weekend

I had two projects to work on this weekend and funny enough they both used the same color families: coral and blue. 

First came my September do. Good Stitches blocks. We were asked to make Patchwork Chevron Blocks using  this Moda Bakeshop tutorial from Jeni Baker of In Color Order.

IMG_2741

These blocks are each 12" square so this will be a huge, fun chevron quilt top :o) I'm really liking the coral, navy, and gray color combination Kim wanted us to use. 

Next up is a shop sample (my first!) for my local quilt shop, The Scrappy Apple. My friend, Kelley, asked me if I could make the sample top using Galaxy, a Villa Rosa Designs pattern.


IMG_2740

Gallaxy is super fast to make up using one charm pack and yardage. The fabric line in this quilt is Figures by Brigitte Heitland for ZEN CHIC for Moda. This fabric line has some great prints in it! 

If you've never seen Rosecards (pattern cards) by Pat Fryer for Villa Rosa Designs they are definitely worth looking for. Rosecards are the size of a standard postcard and feature quick, easy patterns for quilts and other projects that often use precuts. 

IMG_2742

It was a super productive weekend in the sewing room! I'd love to hear what you worked on this weekend :o)

Sunday, September 7, 2014

We interrupt this blog to bring you the 2014/15 school year

Wow! Have you noticed a rather long stretch of silence on Shadows of the Blue Ridge? I sure have. It seems every year when a new school year begins it takes me a while to adjust to a new normal and balance my work time with my "at home" time. Even if I haven't been blogging there has been some sewing going on over here: 

Early in August I tried a super tutorial from Dominique at The Running Thimble to make quilted luggage tags as part of a birthday gift for a sweet friend. So fun! And can I just say...these use scraps :o) I certainly see more of these luggage tags in my sewing future.
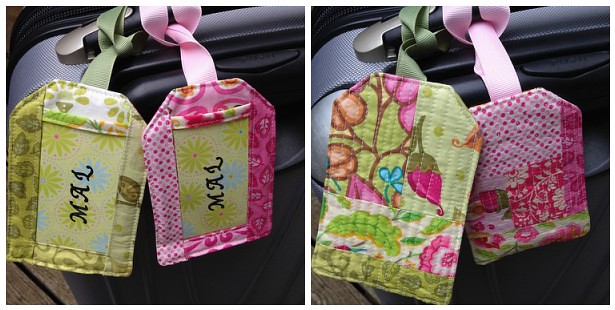

Quilted Luggage Tags
Front and back view

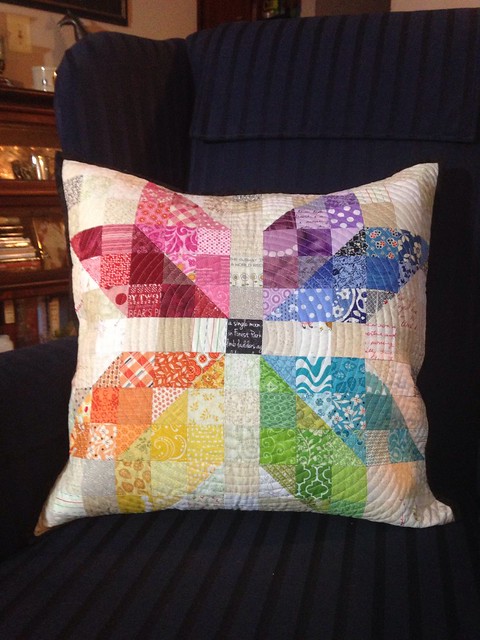
As I wrote in my last post, I was fortunate to be in on the first round of The Great Pillow Fight Swap over on flickr. It was a lot of fun learning about my secret partner :o) She likes bright colors and seems to be drawn to rainbow and color wheel designs. Using this information I chose the fabulous Christmas Snowflake pattern by Rachel Wooden Spoon to create a color wheel snowflake pillow.


It's Finished!

I just love this snowflake block and ROYGBIV makes it so fun :o) I enjoy being able to use scraps from my supply and this pillow top was great way to do just that. For the quilting I did a continuous spiral. I just used the default needle position on my walking foot, so the quilt lines are about 3/8" apart. I've never done a spiral before and found it to be pretty easy once I got past the tiny part in the very center. This will be going in the mail to my partner as soon as the window for sending packages arrives.


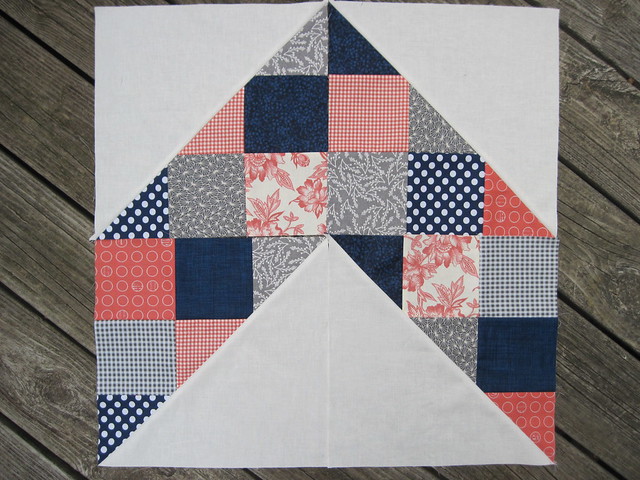
This weekend I learned how to do Susie's Magic Binding from Aunt Marti @ 52 Quilts.com. This binding method allowed me to quickly finish up a small quilt that had a super fast deadline. Wow...if you've not tried this binding method you really need to! Generally I'm not a huge fan of using a machine to sew down binding, but the faux flange really makes it easy and in my opinion great looking, too. I was a bit concerned the flange would not line up nicely on the mitered corners while sewing the binding down, but just to show you how well this works here are all four corners...not a dud in sight :o) Now just to be honest I will say that I pin judiciously...about every inch, so that probably helped, too. 


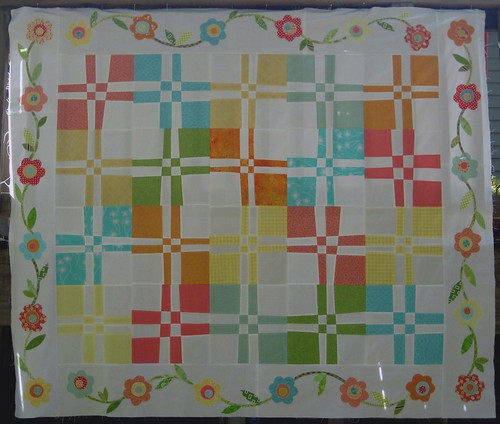
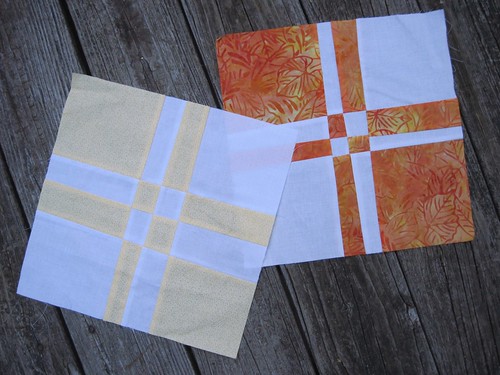
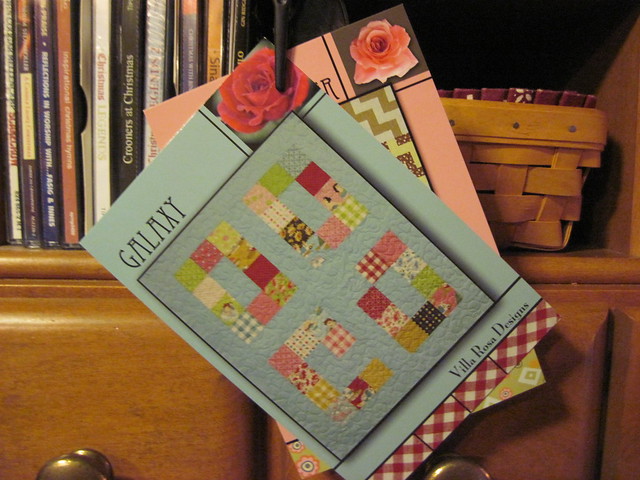
Finally, one last piece of sewing fun. Earlier in the spring I wrote up this little post about Quilt Market. I mentioned that I'd been able to preorder one of Moda's Building Blocks quilt kits. Well...it arrived this week!! Just look at this beautiful box :o) 

I can't wait to dig in and get started on this beauty! However, I am going to exercise great restraint and continue working through my priority list first...but be assured there will be visions of this quilt floating in my head :o)

Happy quilting!