 |
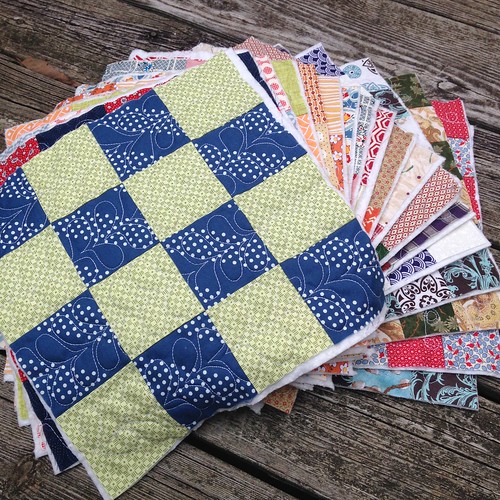
| This stack of blocks provided a lot of QAYG practice |
Before going any farther let's define quilt as you go. Regular quilt making begins with assembling a quilt top, then making a quilt sandwich (top, batting, and backing), and finally quilting the entire top as one large piece. QAYG breaks the whole process down to the block level. A quilt block is completed, layered onto batting and then quilted - at this stage there is no backing fabric. One reason I really wanted to try this method of quilt making is the small size of my sewing machine. Some of you may remember this picture:
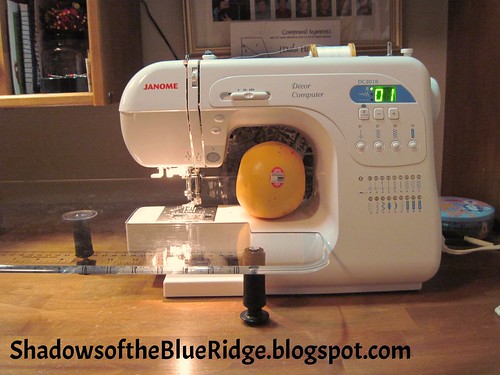 |
| Yes, that is a grapefruit |
Before beginning I did some research on QAYG methods, considering both quilting the blocks, and what I was most concerned about, assembling them once they are finished. In this blog post I am going to focus on the quilting of the blocks and will save my thoughts regarding assembly for a Part 2 post. Okay, enough of the background...on to my experiences and thoughts :o)
My recent quilt finish, Great Grandmother's Patchwork Quilt, is made up of three different blocks: 9 patch, 16 patch, and 36 patch. These blocks provide a great opportunity to give QAYG a try. First I selected a different quilt design for each of these blocks.
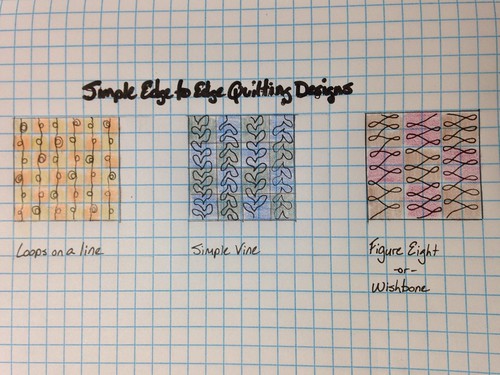 |
| Simple edge to edge quilt designs |
For the actual quilting I grouped my blocks together and quilted all of each block at the same time, for example, I did all of the 36 patch first, then all of the 9 patch, and finally all of the 16 patch blocks. Also - and this is an important point - keeping in mind that a run through the washer and dryer improves the look of all quilting, I gave myself permission to learn how to do these designs on the actual blocks. In other words, the more blocks I quilted the better I got. The first few times I did each pattern it looks like beginner quilting.
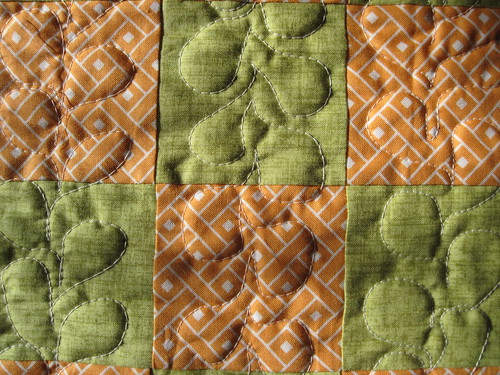
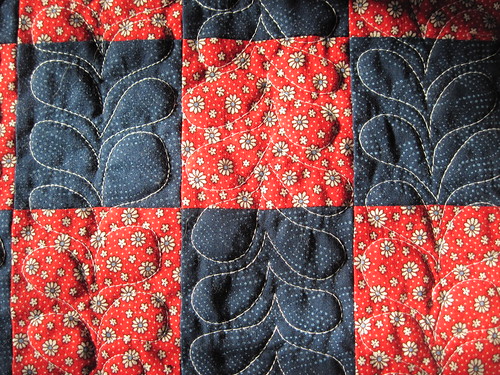
I started with the loops on a line design because I thought this to be the easiest of the three. It actually was very easy and did not matter if I was working top to bottom or bottom to top on the block I got the same look - in other words I did not need to rotate the block when I reached the edge, I just stitched over to the next column and began again. Next, I did the figure eight/wishbone design. I loved the smooth movement of this design and it really was easy to find my rhythm with it. For this design I also I did not have to rotate my blocks but it took a bit more mental processing to switch from quiting up the block to quilting down the block. Finally, I saved the vine for last because I thought it was the most difficult of the three designs. For this one I definitely had to rotate the block with each pass and always worked bottom to top. Here's my skill progressions with the vine pattern:
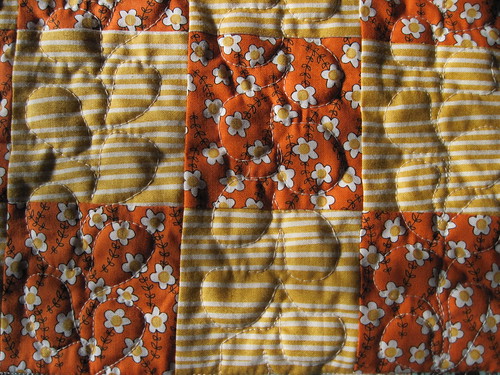 |
| Vine: early attempt yields poorly formed leaves and inconsistent sizes |
 |
| Vine: after a few blocks the vines are starting to look more uniform in size and shape |
 |
| Vine: finally a block I am proud to show. Good spacing, shape, and sizing :o) |
I did notice that since I was only quilting a top and batting (remember, there is no backing fabric on the blocks at this stage) there is more drag when moving the blocks around. I did use my Supreme Slider and it was a big help. However, even without a Supreme Slider this would not be too difficult given the small size of my blocks.
Overall QAYG was a great experience! It was so fun to quilt small blocks and to try different free-motion quilting patterns without having to wrestle with a large quilt. It was also exciting that it really did not take long at all to see improvement in my quilting - a big motivator!
I'll write up another post soon giving my thoughts and experience with assembling the quilted blocks and adding a backing, so stay tuned! In the meanwhile run, don't walk, to your sewing machine and give quilt as you go a try on some of your quilt blocks - you'll have fun! I promise :o)

Great recap, Debbie. I am both intrigued and scared with the QAYG method, not so much for the quilting part, but for the assembly, so I am looking forward to your next post on the topic.
ReplyDeleteLooks great. The joining together part is the one that I haven't quite faced yet - it would be a great workshop to take hands on I think. Speaking of workshops - I'm super excited to have signed up for a QuiltCon West class next month with Christina. Will you be going to Pasadena?
ReplyDeleteI Am Interested To See Your Next Post Because I Have Always Done QAYG With Top, Batting, And Backing All At Once. BTW I Really like The Appearance Of The Finished Quilt Of 9, 16, And 36 Patches.
ReplyDelete