 |
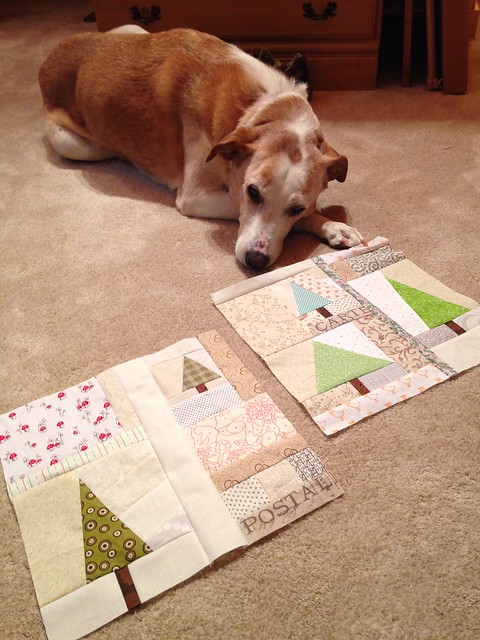
| My girl, Shiloh, looking over the Pine Forest blocks. |
Here is a quick tutorial for how to make the pine tree part of the blocks. Start by pulling a scrap of green to blue/green fabric and cut it into a triangle.
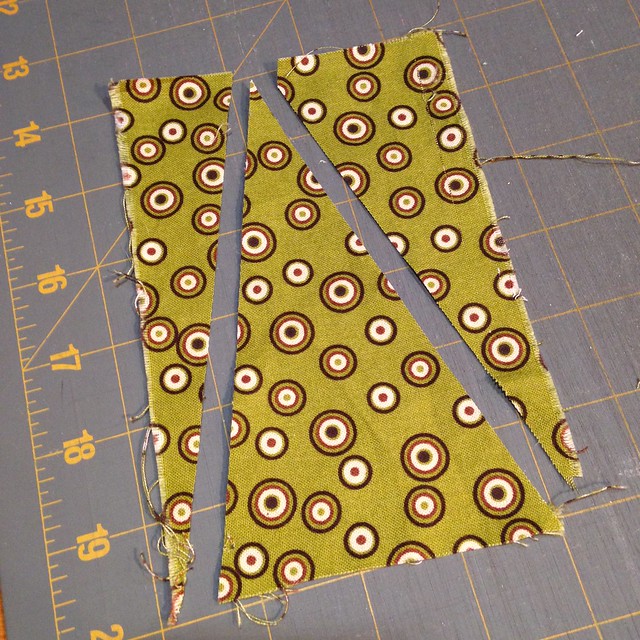 |
| Cut fabric scrap into a triangle |
Sew the tree fabric onto a piece of background fabric.
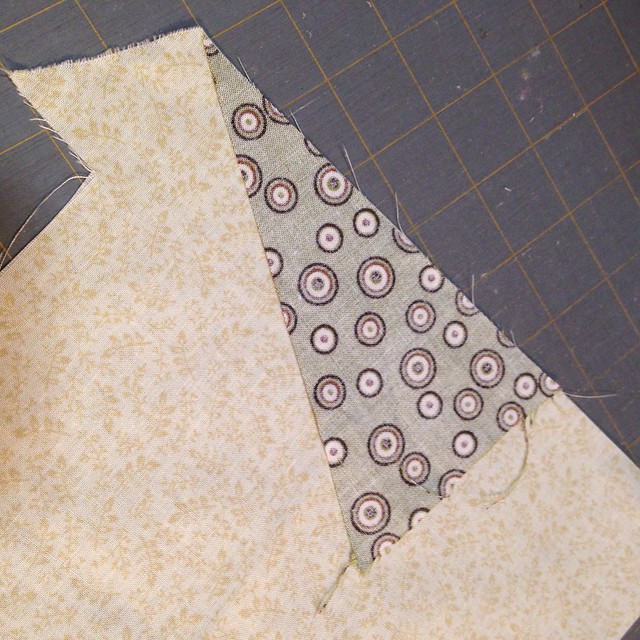 |
| Tree fabric sewn onto a piece of background fabric |
Flip the fabric over and press the seam toward the tree to make it stand out a bit.
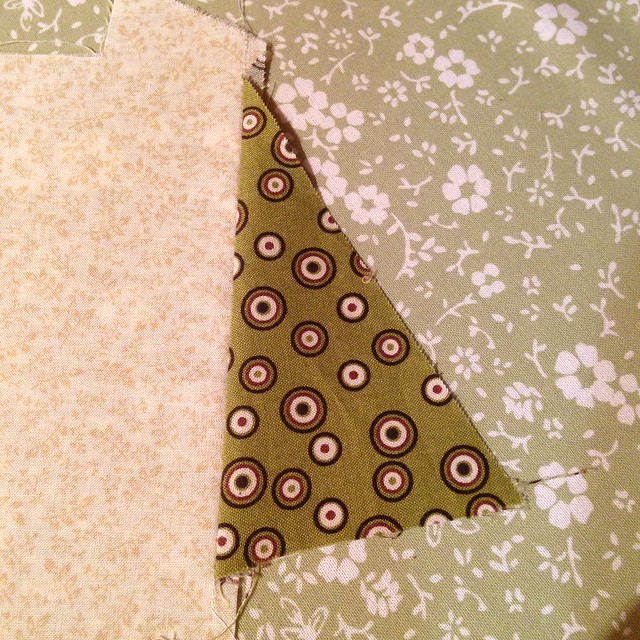
Sew fabric to the opposite side of the tree. When pressing turn the seam allowance toward the tree.
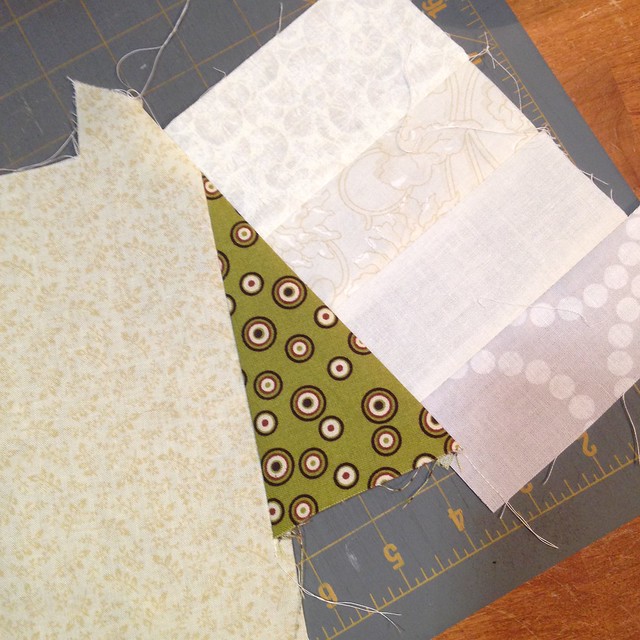 |
| Sew fabric to the opposite side of the tree |
Trim up the side fabrics so the unit has a rectangular shape.
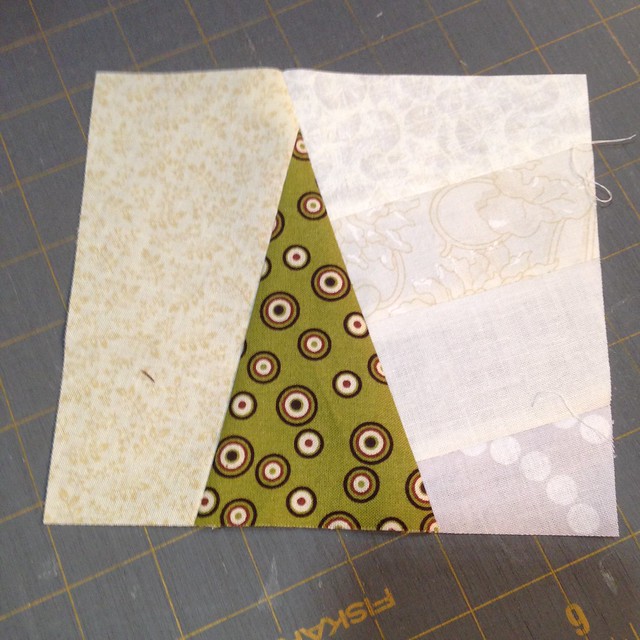 |
| Trim into a rectangle |
Make a tree trunk. I cut the brown fabric 1" wide.
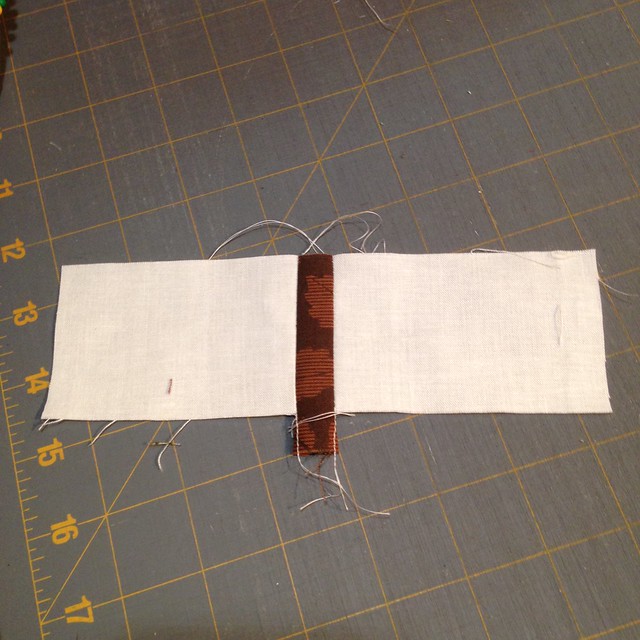 |
| Trunk unit - brown fabric was cut to 1" wide before sewing |
Finally - sew the trunk unit onto the tree unit and trim to a rectangular shape.
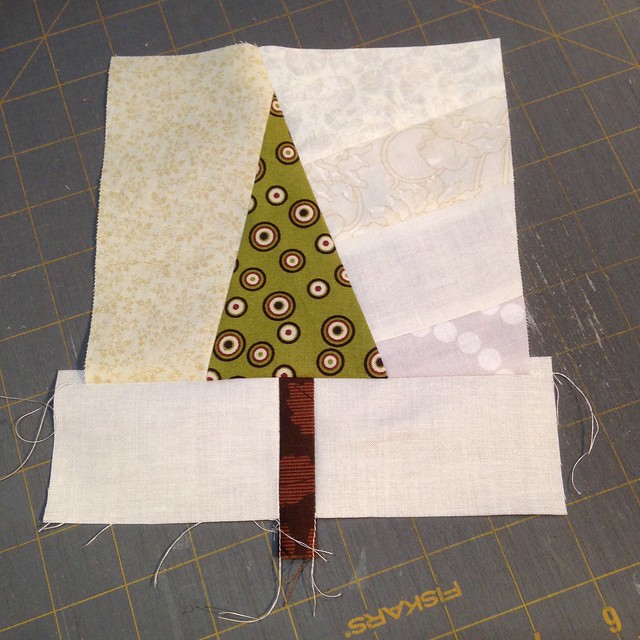
Use low volume fabrics (prints and solids) to finish making the blocks into a 12.5" square. Blocks can be made with as few as one tree, or as many as you'd like to include. Here are two samples I made up.
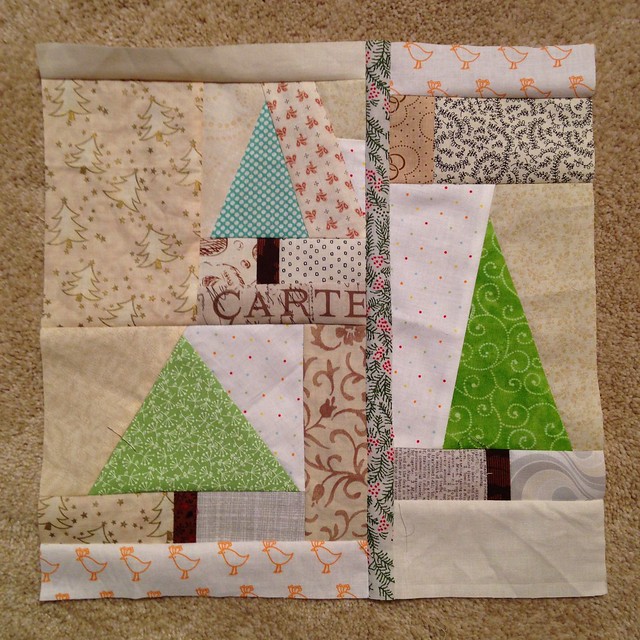
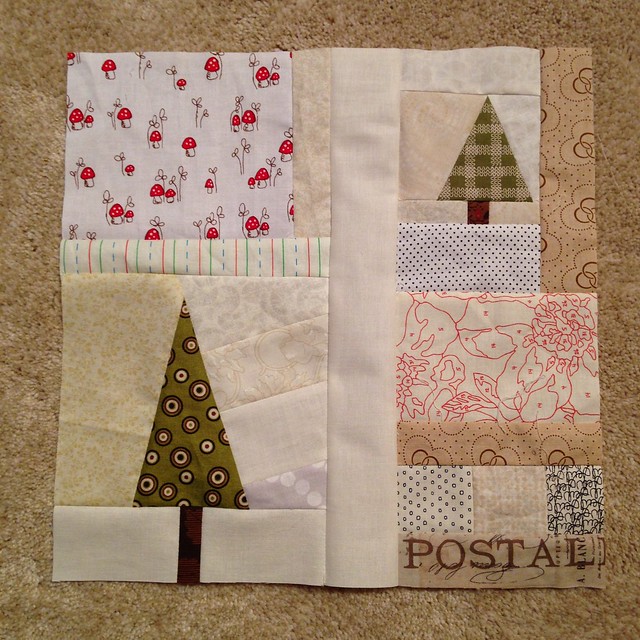
Hope you enjoy making Scrappy Pine Forest Blocks!

Thanks for this. I also love scrappy with low-volume.
ReplyDeleteWhat a great block! I fully intend to make at least one or two. Not sure what I'll do with them but I can't resist :-)
ReplyDeleteHow nice of you to share this block tutorial. Seems very easy as compared to patterns that have you cutting up 1-1/2" X 2-1/2" and other teeny specific measurements. Bet this is gonna look great coming from everyone's stash!
ReplyDeleteI love this! Years ago we traveled to Vermont, and the TREES were what impressed me about that area. Trees everywhere! This reminds me of that trip. I'd love to make a quilt of all scrappy tree blocks like this. Thanks!
ReplyDeleteThis is going to be a sweet quilt!
ReplyDelete