 |
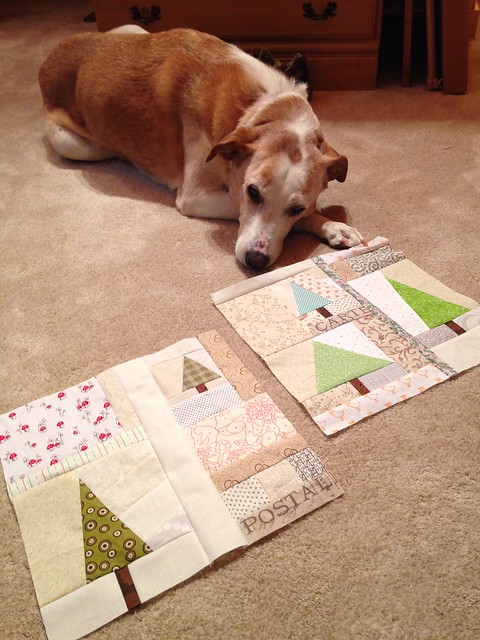
| My girl, Shiloh, looking over the Pine Forest blocks. |
Here is a quick tutorial for how to make the pine tree part of the blocks. Start by pulling a scrap of green to blue/green fabric and cut it into a triangle.
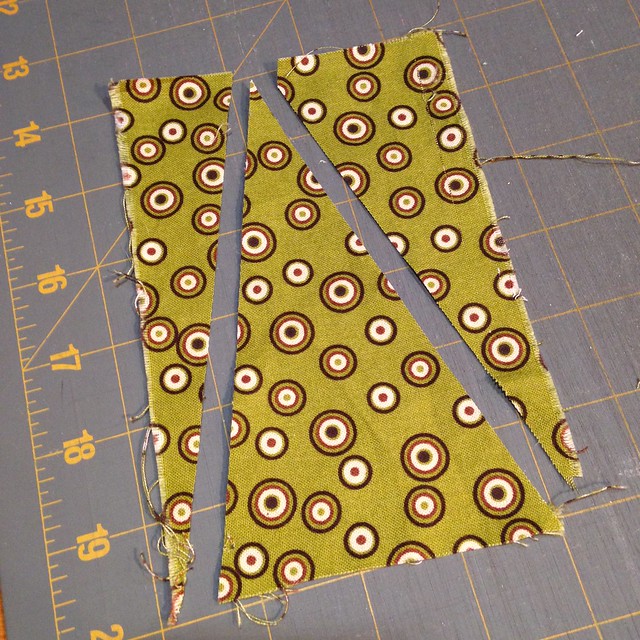 |
| Cut fabric scrap into a triangle |
Sew the tree fabric onto a piece of background fabric.
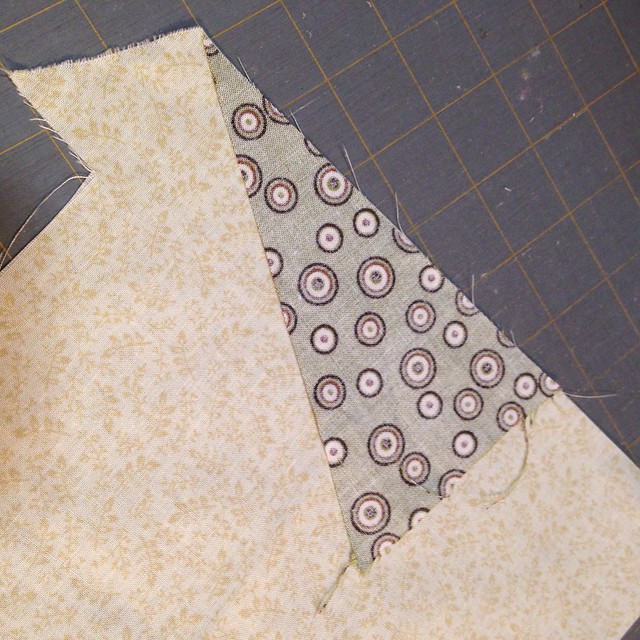 |
| Tree fabric sewn onto a piece of background fabric |
Flip the fabric over and press the seam toward the tree to make it stand out a bit.
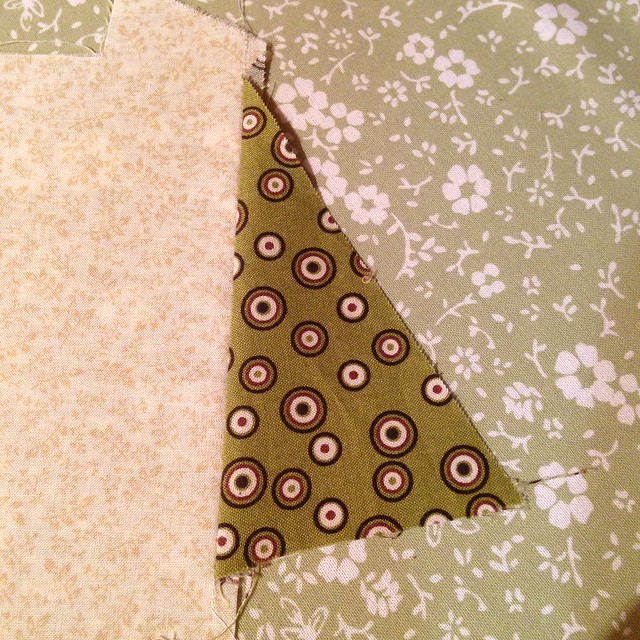
Sew fabric to the opposite side of the tree. When pressing turn the seam allowance toward the tree.
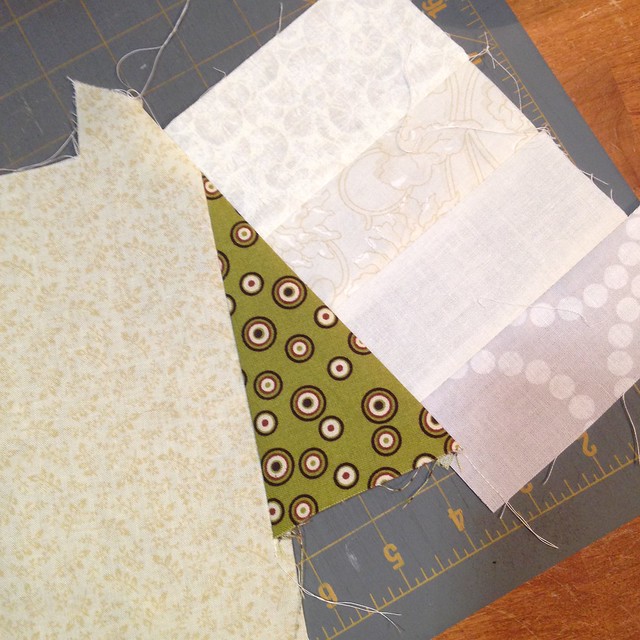 |
| Sew fabric to the opposite side of the tree |
Trim up the side fabrics so the unit has a rectangular shape.
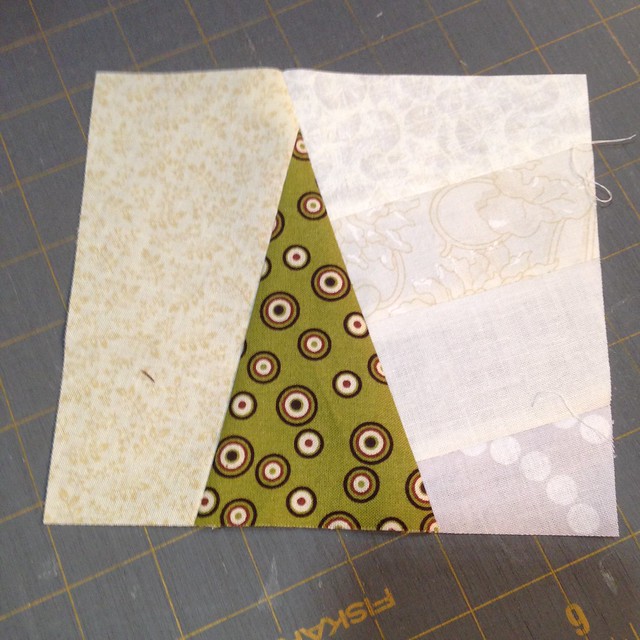 |
| Trim into a rectangle |
Make a tree trunk. I cut the brown fabric 1" wide.
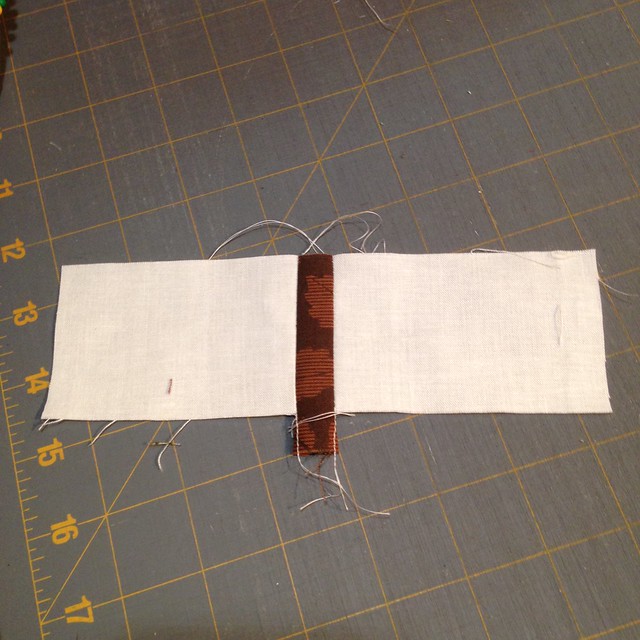 |
| Trunk unit - brown fabric was cut to 1" wide before sewing |
Finally - sew the trunk unit onto the tree unit and trim to a rectangular shape.
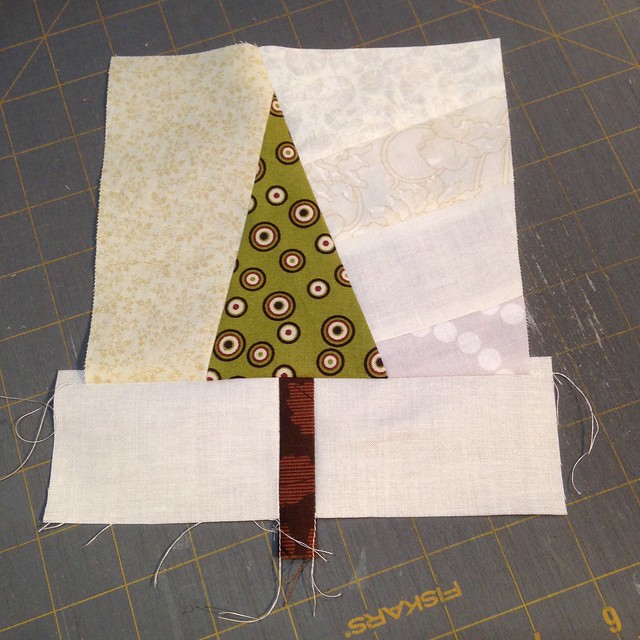
Use low volume fabrics (prints and solids) to finish making the blocks into a 12.5" square. Blocks can be made with as few as one tree, or as many as you'd like to include. Here are two samples I made up.
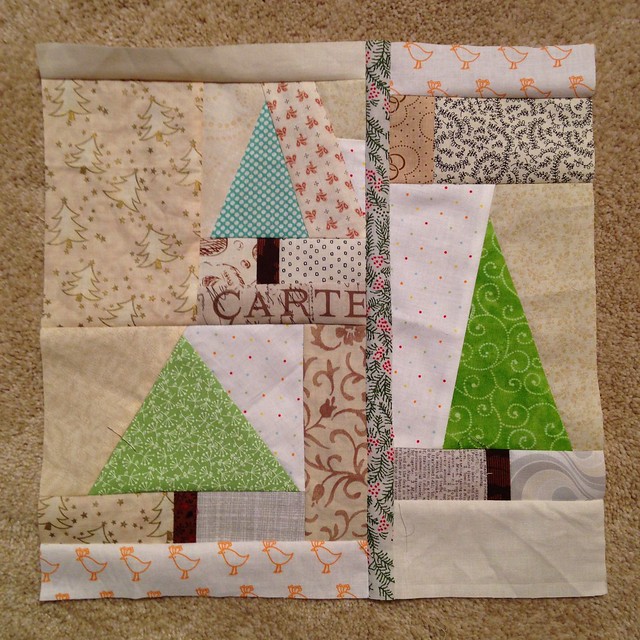
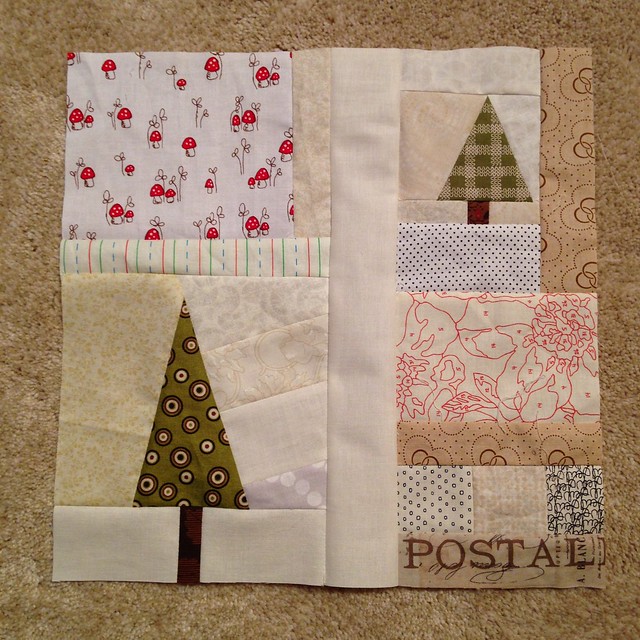
Hope you enjoy making Scrappy Pine Forest Blocks!
